How to setup my Expansion Wifi Pack?
Introduction
With our standard expansion pack you will receive the following:
1 x Wifi Modem
2 x Point to Point, including 2x Power (POE) Injectors
2 x 10M Network Cable
2 x 0.5m Network Cable
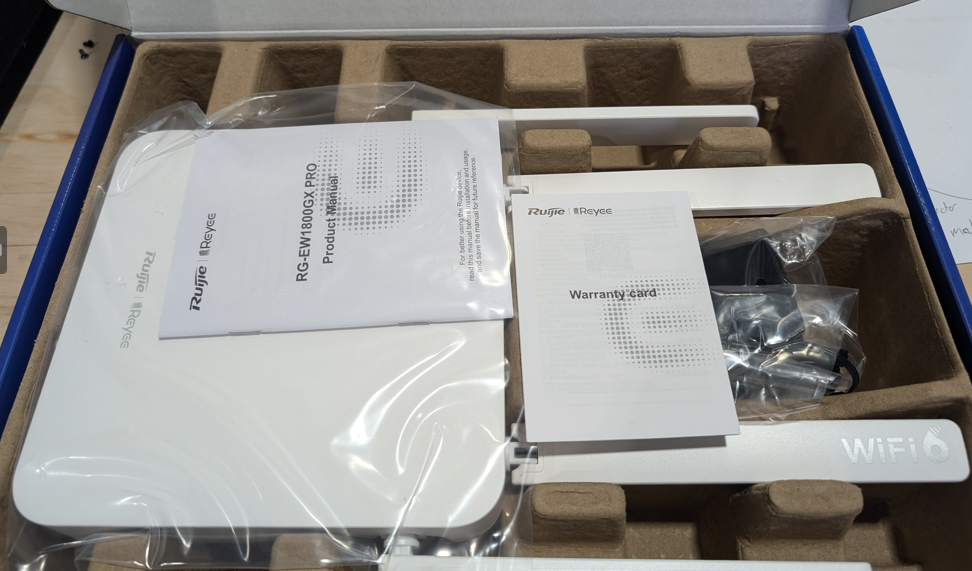
See below for standard equipment (*pictures may vary with model):
Point to Point x 2, POE Injectors x 2
Wifi Modem x 1
Once finished with the setup your solution will look like below:
Step 1. (Main Location)
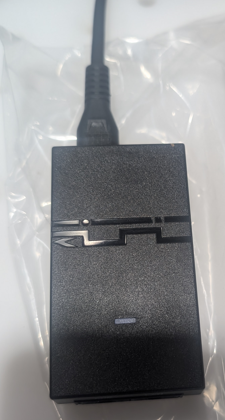
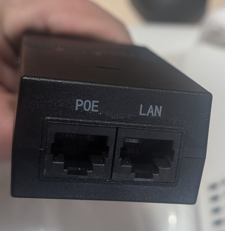
From Point to Point box remove any one of the POE Injectors and power cables. The POE Injector can be identified as below:
Remove Record End Point to Point from Box. This can be identified with by looking at the below:
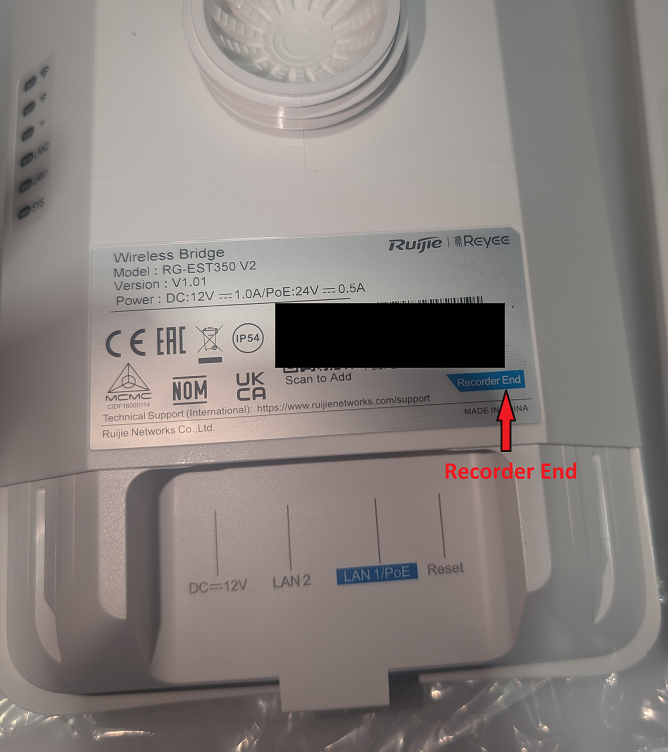
It is VERY IMPORTANT, that the Recorder End be on the side where the Starlink is installed. So please ensure that this is the case.
It is VERY IMPORTANT, that the Recorder End be on the side where the Starlink is installed. So please ensure that this is the case.
You can then connect the system up as below:
Hint. Place the POE Injector close to where your Starlink Modem (Ethernet Adapter on Gen2) are. You can use the short 0.5m cable to plug that into the LAN Port of that. The 10M Cable will then run from the POE Port to the LAN/POE port of the Point to Point (Recorder End) on the outside.
Once this is done, you can move onto the Secondary location setup.
Step 2. (Secondary Location)
From Point to Point box remove the 2nd and last POE Injector and power cable. As above the POE Injector can be identified as below:


Remove Camera End Point to Point from Box. This can be identified with by looking at the below:
It is VERY IMPORTANT, that the Camera End be on the side that is the secondary location (side where you want the Wifi extended to). So please ensure that this is the case.
You can then connect the system as below:
Hint. Place the POE Injector close to where you want to place your Wifi Modem. You can use the short 0.5m cable to plug that into the WAN Port of the Wifi Modem to the LAN port of the POE Injector. The 10M Cable will then run from the POE Port to the LAN/POE port of the Point to Point (Recorder End) on the outside.
Once this is done, you can setup the Wifi modem.
Once both Point to Point connections is up and running, you will see the status panel look like below:
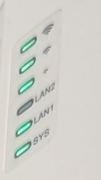
The top 3 status lights will show the signal strength between the point to point links, in case you need to reposition them. The bottom two green status lights will show that the system and connection is up and running.
Step 3. (Secondary Location Wifi Modem Setup)
To setup your wifi modem, please follow the below Steps.
On your phone connect to the default Wifi Network of your Wifi Modem. You can identify the Wifi network by looking at the bottom of the Wifi Modem as below:
Once you connected to the @Ruijie-XXXX wifi name assigned to your Wifi Modem. You can open your mobile phone browser and go to 192.168.110.1 for the welcome page. Some phones might do this automatically, but it will look like below:
Tap on Configure to continue
On the next page you will be asked if you want to set your Wifi password the same as your management password. Tap on OK to continue as below:
On the next page you can add in the SSID and Wifi Password. The SSID is the name of the wifi network. And the Wifi password will be what you use to connect to it. Update it as required. You can also update your Country/Region and Time Zone. This isn't necessary, but advised. Once done, click next as per below:
Once you have completed this. Your modem will update it's wifi name, and you will have wifi in your secondary location with internet across your point to point system.
Related Articles
Setup Grandstream WP816 on Wifi
WIFI SETUP Once you inserted the battery into the handset and powered on the base. Power on the phone by holding down the 'red' handset button on the top right. This will turn on and boot up the phone. Once you get to the main screen after the ...I want information on Networking and Wifi
Our SpaceTek IT WIFI Solutions As Starlink brings high-speed internet to more homes in remote and rural areas, ensuring optimal WiFi coverage throughout your property is essential. Whether you want to extend WiFi through a large house, cover an ...How do I setup my Ruijie M32 / M16 Mesh Router?
First ensure your Ruijie Mesh router is factory reset. Do this by putting a small pin into the 'Reset' hole in the back just below the power. Hold the pin down for 10 seconds, until you start seeing the light on top flashing. After a couple of ...I want more information on Starlink Compatible Phone Plans?
Starlink VOIP phones and lines offer a reliable and cost-effective solution for your communication needs, especially for home or businesses seeking to integrate voice over IP (VOIP) technology. This guide will walk you through the available options ...I need assistance with my Starlink! / Can you help me with Starlink?
Unfortunately we aren't affiliated with Starlink. We are an Australian-based company that manufacturer Starlink accessories and mounts. We can assist with support of our products, or assist you with anything related to your Starlink service, such as ...